

Define polygons as delivery zones
Steps to create Polygons
In this article you will find the step-by-step guide to define a polygon and link it to a shipping option.
-
Create your polygon Go to https://geojson.io/ and draw a polygon with the coverage zone you want, saving the result in geojson format

Make sure the area you mark is closed and fully marked (in the example, the polygon is marked in black)
Activation and initial setup
To turn on this feature:
-
Go to the Bolder admin panel.
-
Go to the Addons and Integrations section, in the stocks & fulfillment category, and turn on Delivery Area Polygons.
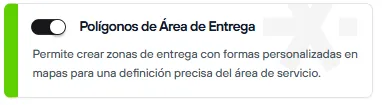
-
Once it is active, from the admin go to Preferences > Delivery options > Polygons, and select “Create new”
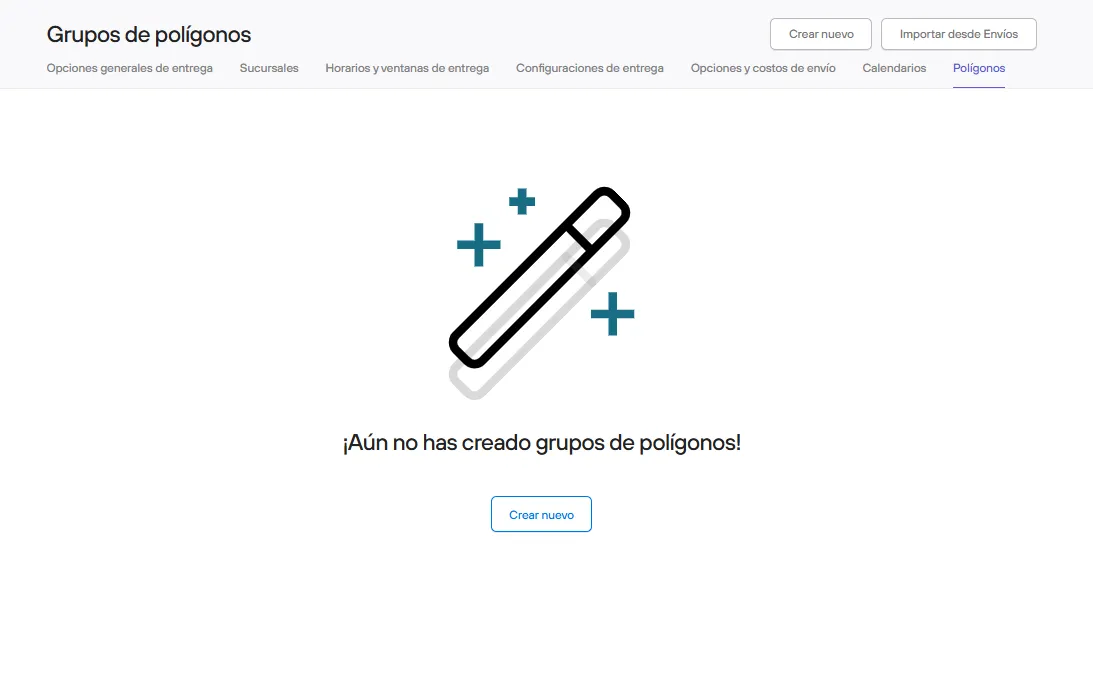
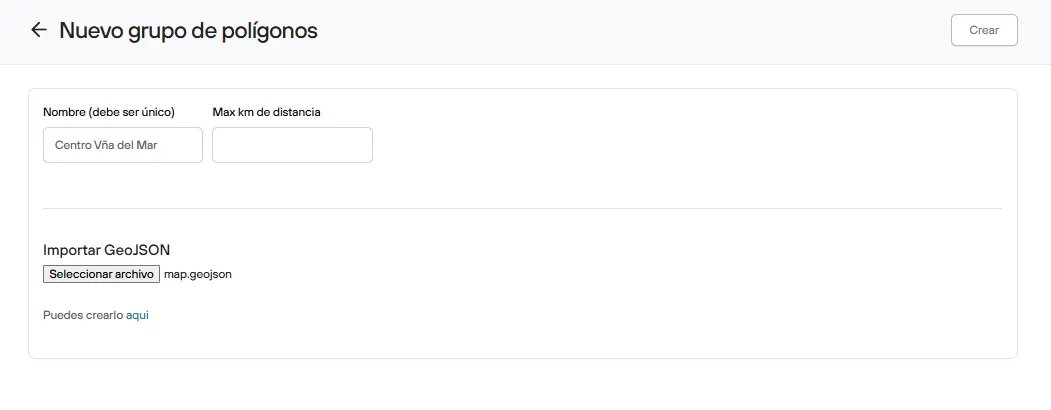
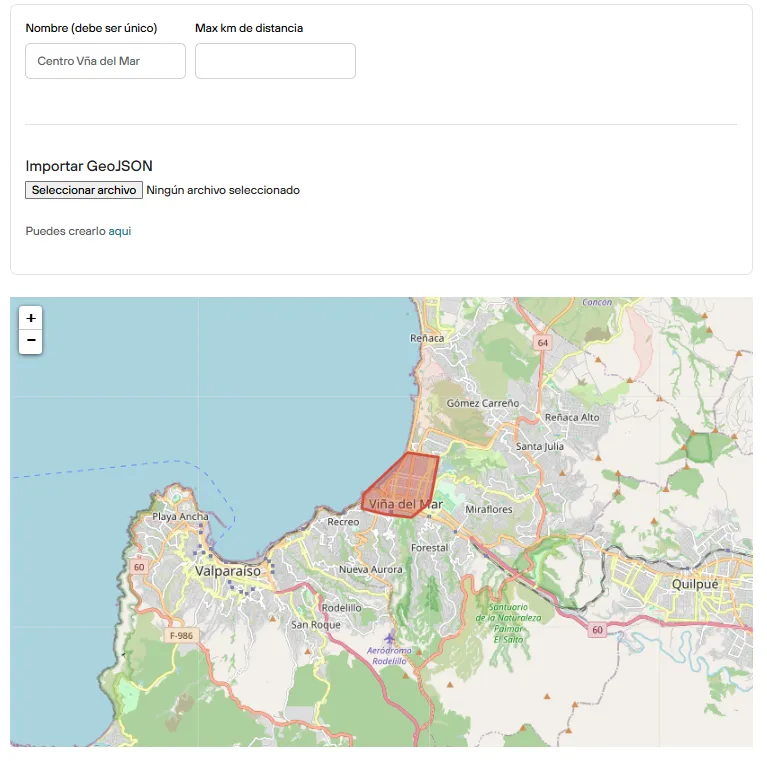
Enter a name to identify the polygon, set a maximum distance in kilometers (if it applies), and upload the file from before (in geoJSON format).
Once it is created, you will see the uploaded polygon on a map
Link the polygon to a shipping option
From the admin, go to Preferences > Delivery options > Shipping options and costs
In the shipping option’s settings, go to the bottom, select the polygon to link and save your changes.

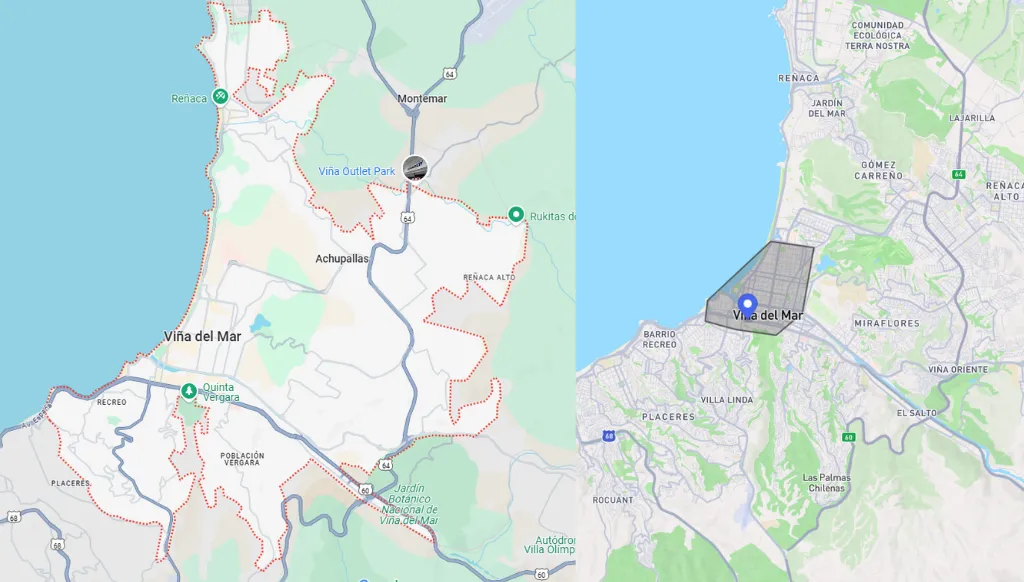
When you link the polygon to the shipping option, that option will only be offered to customers whose address is inside the overlap between the polygon and the geographic area defined in the option. In the image on the left, the red dotted line shows the commune defined in the shipping option and the polygon is in blue. Once linked, the shipping option is limited to the polygon only, and if the address the customer enters is outside it, the option will not be offered.
IMPORTANT
Depending on how your shipping options and costs are set up, you will need to mark the option as exclusive or not.