

Mailchimp flows
Working with campaign flows is a great way to improve your overall metrics and your sales. If you already have your Mailchimp account set up with your Bolder store, these are the flows you can currently activate, even from a free account.
Abandoned carts > incomplete orders in Bolder
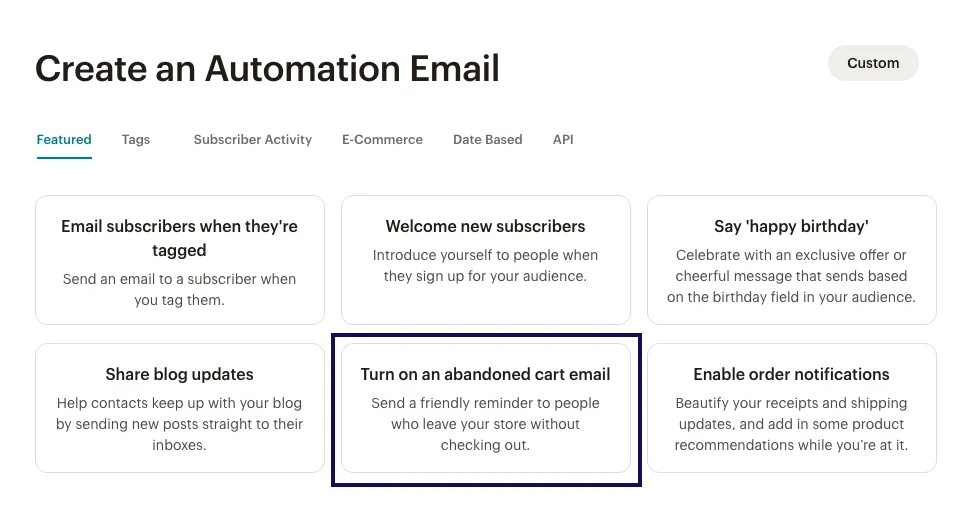
In your account’s control panel, go to the Automations section. Here, look for Classic Automations or Classic automations, and turn on the option Turn on an abandoned cart email, which activates an abandoned cart email.
In Email series, enter the campaign name, select a store and click Begin.
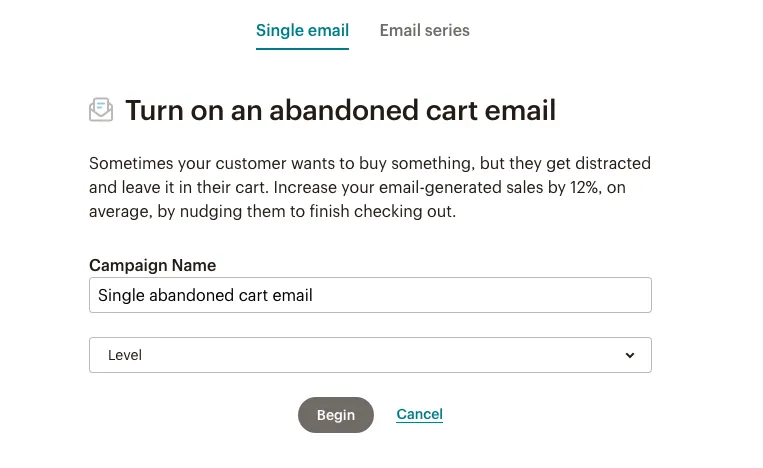
If you want to create a series for abandoned carts (Email series), you need a paid account, and from there you can build the emails that will be sent.
When you start the process for this new campaign, complete the settings the process asks for, including sender, subject, and customizing an email template/creating the message.
Once it’s set up, and before launching this new campaign, remember to review your settings.
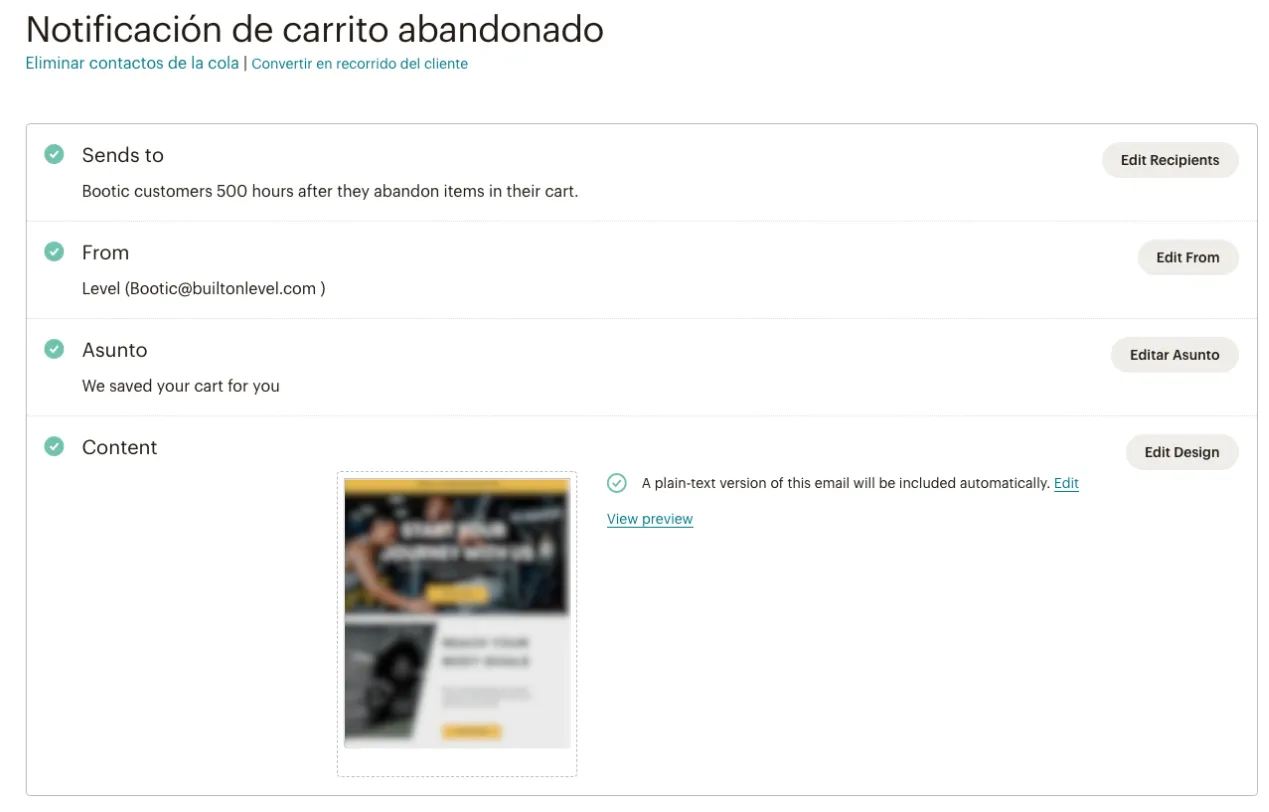
Once ready, this new flow will start running.
Incomplete orders in Bolder
Bolder automatically sends abandoned cart information to Mailchimp so the flow you set up works correctly. This data is synced when a user enters their details at checkout (at least step 1, the contact email) and the order is then left incomplete.

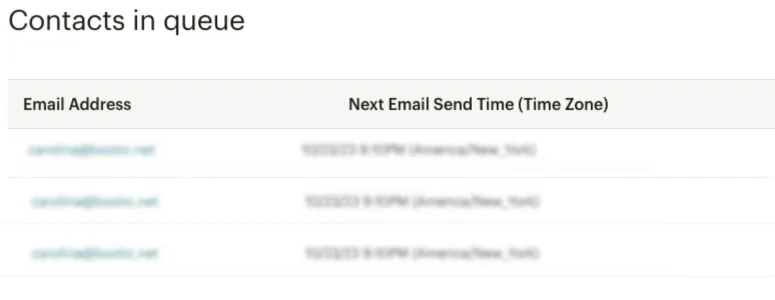
From the Bolder panel you can review these orders by filtering by the incomplete status, and in Mailchimp you can check which orders are queued to receive this message or flow. When an order that was queued in Mailchimp is completed in Bolder, it is automatically removed from the abandoned cart flow.
Order notifications
In your account’s control panel, go to the Automations section. Here, look for Classic Automations or Classic automations, and turn on the option Enable order notifications.
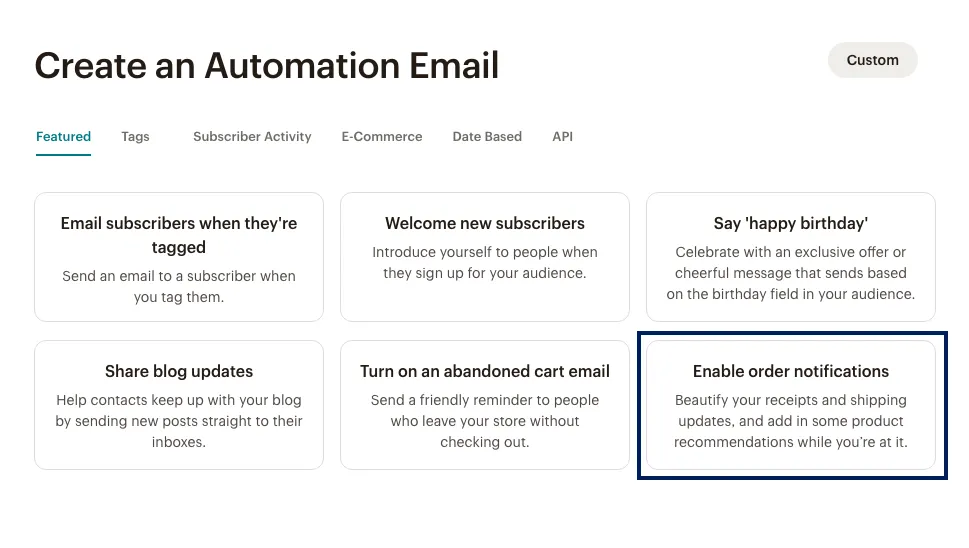
Order notifications are triggered by activity in your connected store. You can choose a combination of five different notifications that keep your customers informed about their purchases:
Order confirmation: Sends a receipt to customers when they buy something in your store, when they add products to the cart and move on to checkout.
Order invoice: Informational receipt that lets customers know their payment has been processed.
Shipping confirmation: Lets customers know their order is on its way.
Refund confirmation: Lets customers know their refund has been processed.
Cancellation confirmation: Lets customers know their order has been canceled.
For each of these notifications you can set up and customize an email from the available templates.
Setting up this flow is similar to the previous one: follow the steps the platform shows you, setting only the sender and customizing the content.
In both cases, you shouldn’t manage customer data externally, since the flow automatically detects the customer’s information/status in the store.
Recommended products
To run campaigns for specific products, cross-selling, related products or complementary sales, you can use user segmentation to define the audience you’ll send your new campaign to.
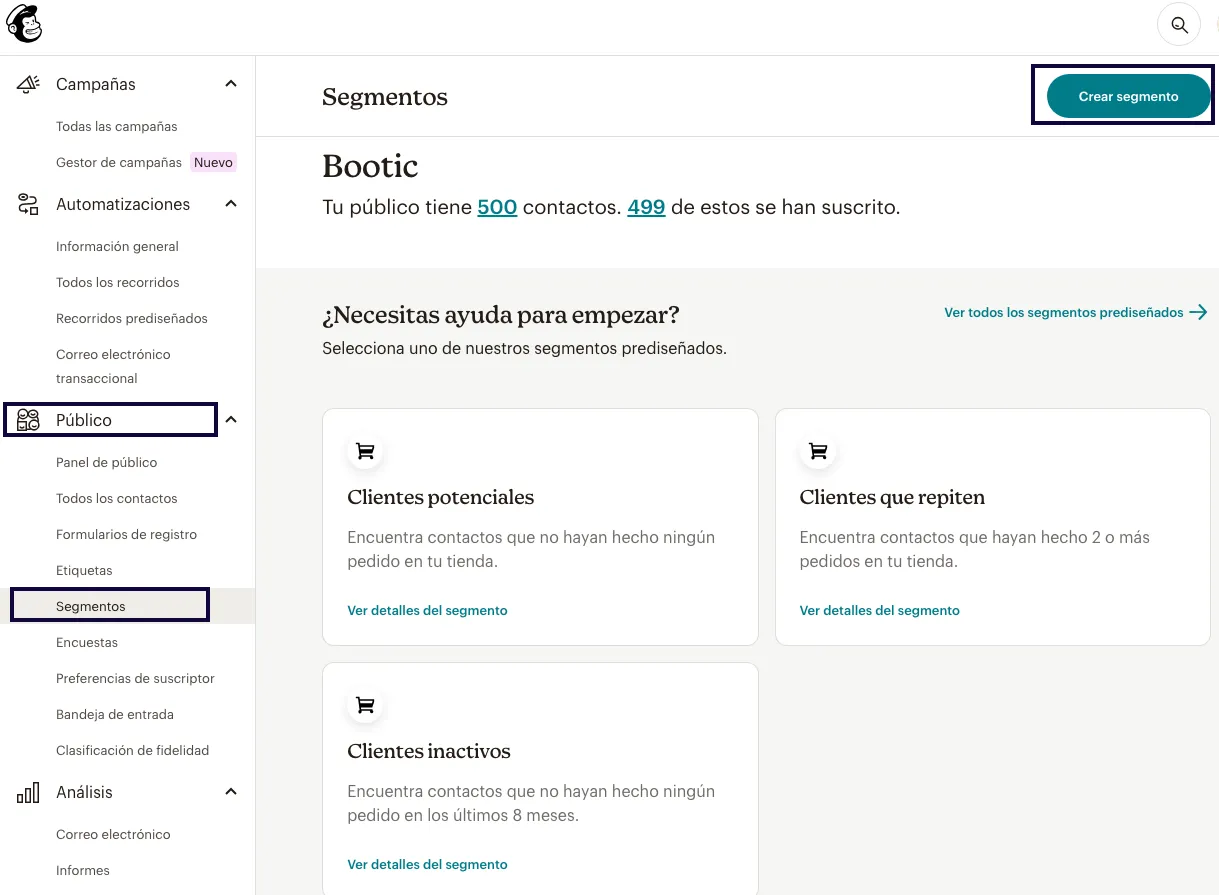

From the admin > in Audience > Segments > Create Segment, you can create a group of users who meet certain requirements, the most relevant ones for this type of campaign being those related to E-commerce activity.

In the email editor, in the settings panel, search for “Rec. Products”. Here, drag and drop the block into your design, and then select personalized recommendations, best sellers or new arrivals.
If you add personalized recommendations to an email, recipients who haven’t made any purchase yet will see best-selling products instead.
Personalized recommendations are unique to each recipient and are based on their previous purchases. To generate personalized recommendations, your store must have at least 10 products, 50 customers and 500 orders.
Click the Number of recommendations drop-down menu and choose how many products you want to include. Finally, remember to customize the block’s design and style.
When you design an email, you can turn content blocks into dynamic content that is only shown to certain recipients. This helps you target different types of subscribers at once with a single email.
If you want to create your own mix of specific products per campaign, when building the content choose the “product” option, and set up the corresponding ones from there.
Other flows
In Mailchimp you can work with the Classic automations flows. Just make sure you complete the required information correctly for each type of campaign, and that you have the customer information or groups set up in Bolder so they work correctly.