

Mailchimp and Bolder integration
Mailchimp is a marketing automation platform that helps you run email campaigns for your customers and potential customers.
Its service has a free plan, but if you want a larger contact base and custom flows, you can check the different plans they offer.

Setup
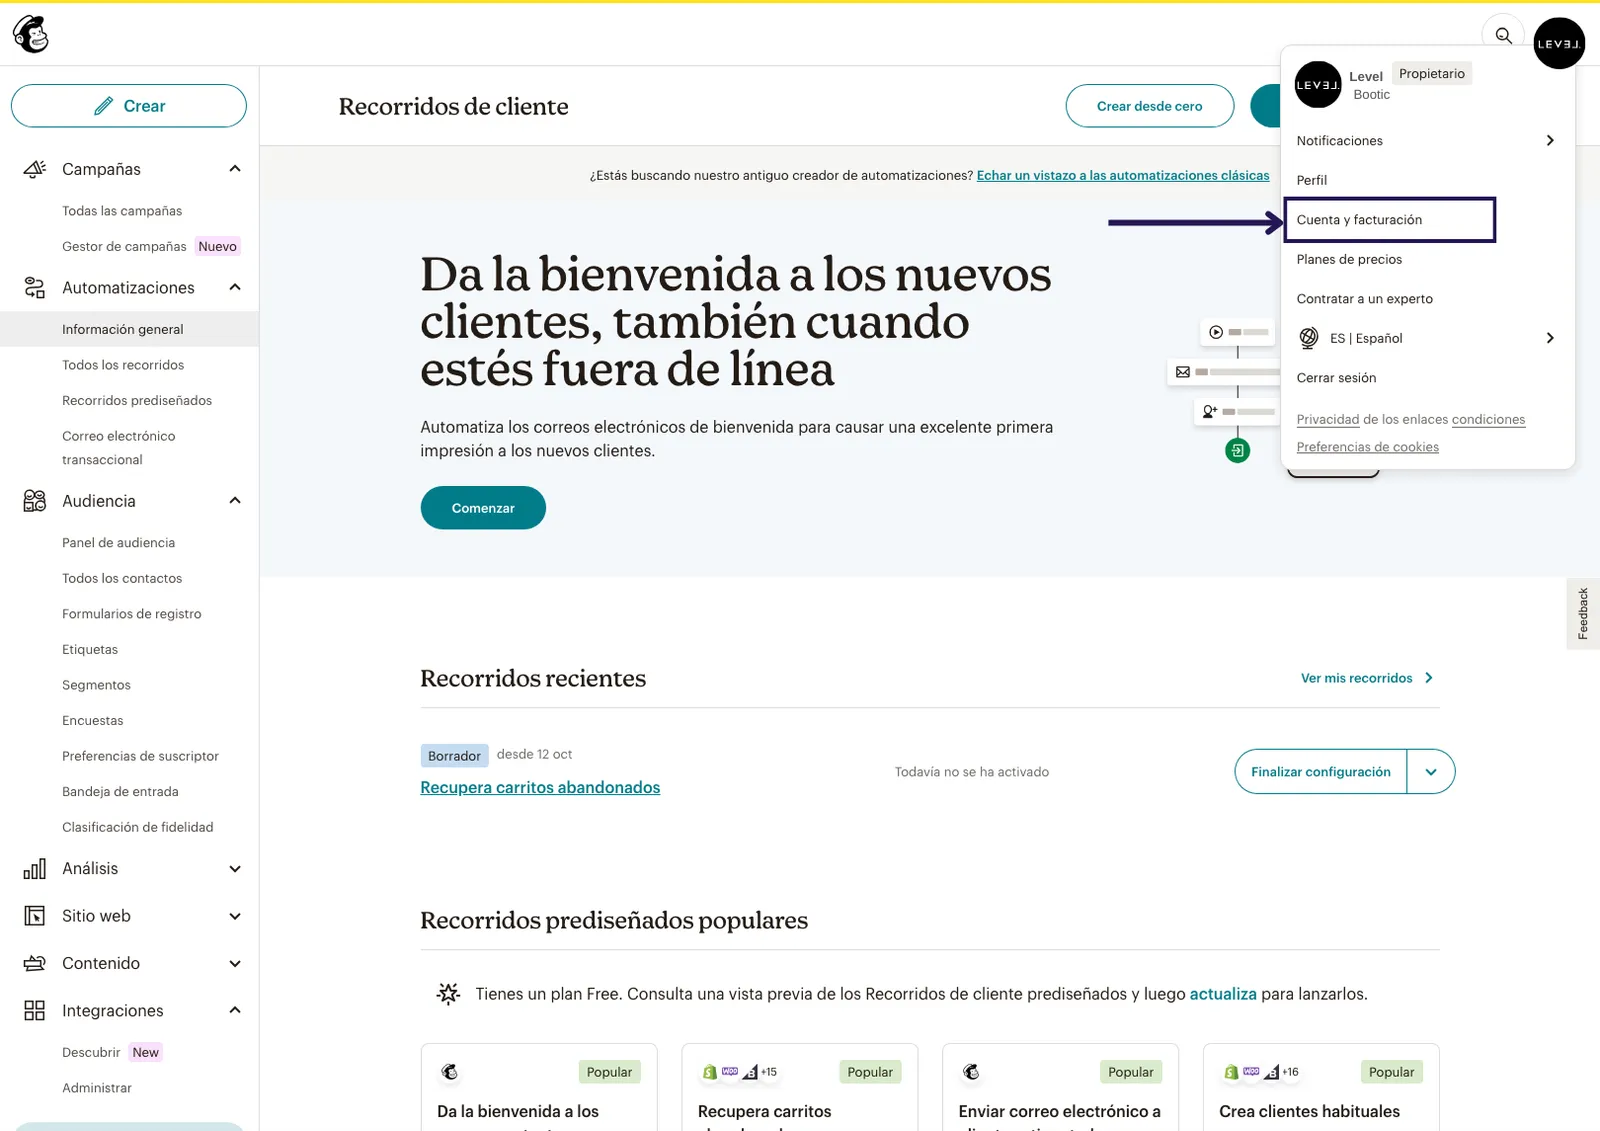
Once your account is created, from the dashboard, open your profile (from the round image on the right side) and go to Account & Billing
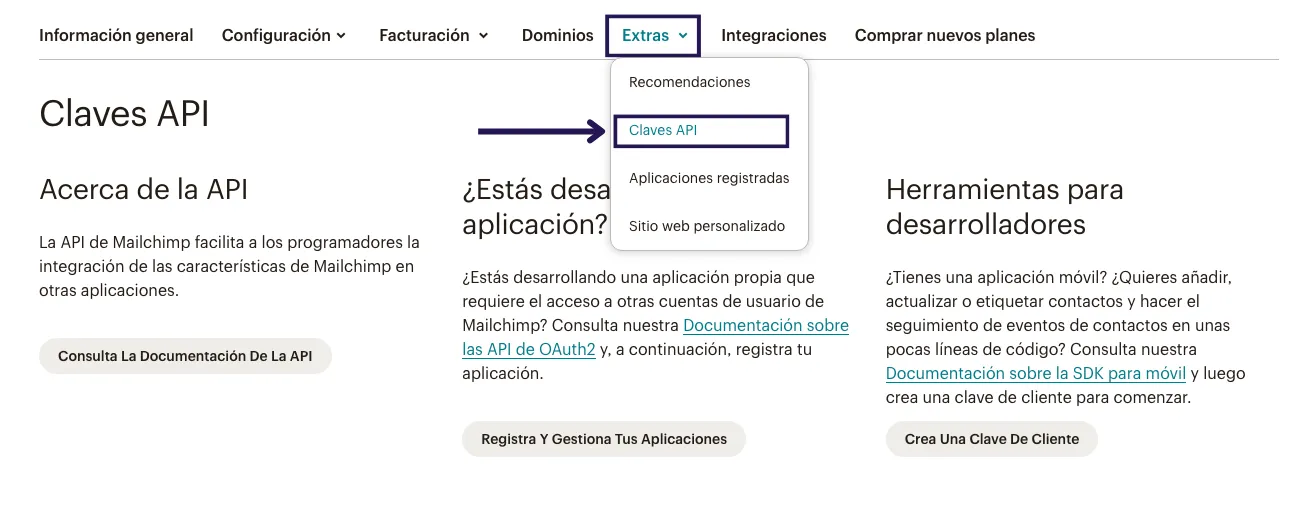
In this panel go to Extras > API keys
In this view go to Create A Key.
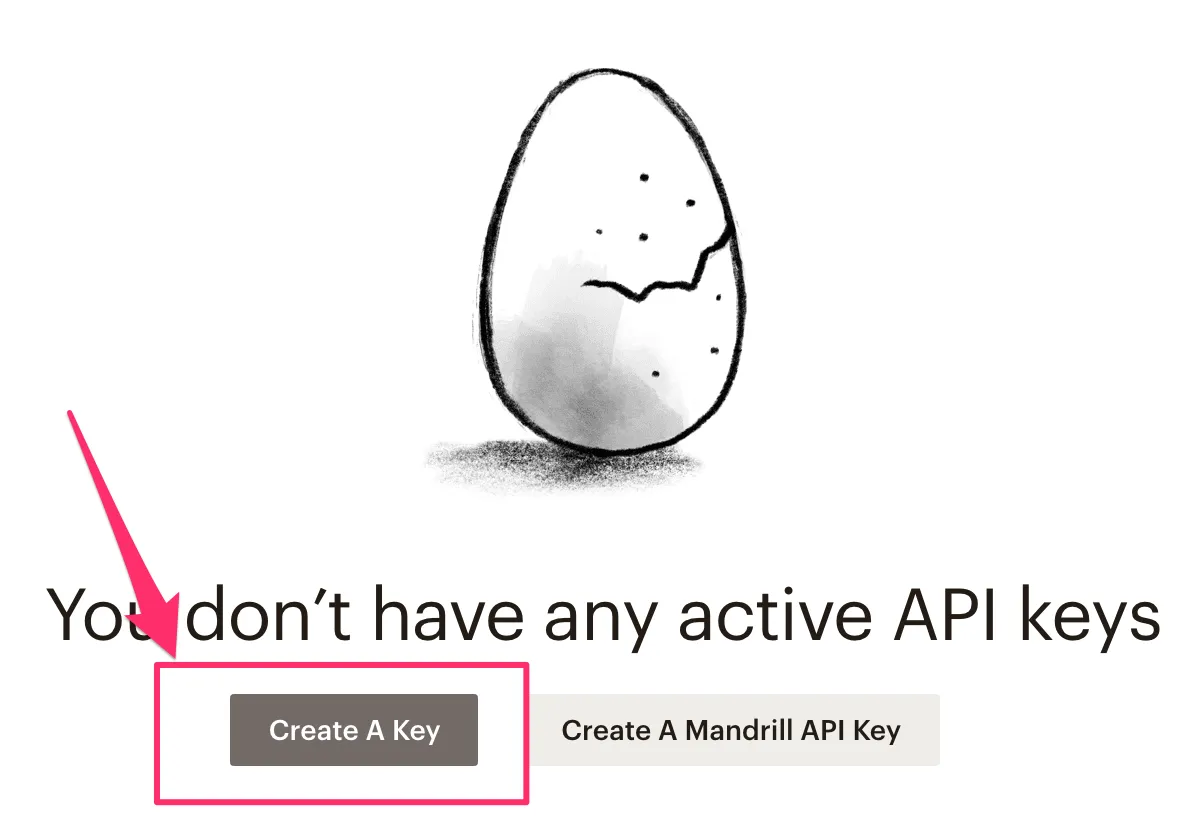
After clicking Create A Key or Create New Journey you can use a descriptive name; otherwise you can leave the default name. Keep in mind that you will only see this name and the first 4 digits of the key in your list of API keys. When your key is generated, click Copy Key to Clipboard and remember to back up your key in a safe place, because you won’t be able to see or copy it again.
Now that you have copied your key, go to your Bolder admin panel.
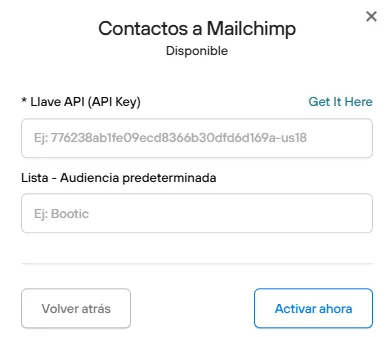
In the components section, look for the one called Contacts to Mailchimp
Here you need to paste your API Key, and you can also set a list to sync contacts to.
- If you don’t have any lists created, the Bolder list will be created.
- If you already have a list created, it will be used as the main one.
- If you have several lists created in Mailchimp, you need to select the destination audience using its exact name.
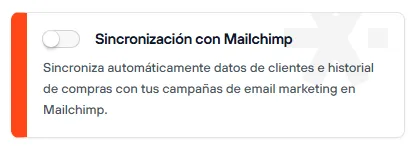
Automatic sync of new sign-ups
Bolder connects with Mailchimp automatically when:
- The buyer completes checkout and answers “Yes” to “I would like to receive news and promotions”
- A visitor to your store fills out and sends the contact form and also answers yes to the question about receiving news and promotions.
In both cases, the email entered by the buyer or visitor will be sent to the account connected to your Mailchimp store.
Manual sync

First go to your Admin Panel > Customers
The next step is to select the customers, and a section with options will appear automatically. Select Add to list or Remove from list.
Then you can go to your Mailchimp account and check that the customers were added to the list.